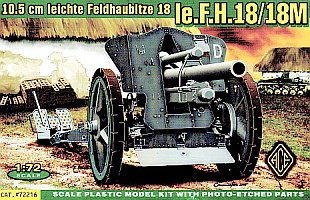
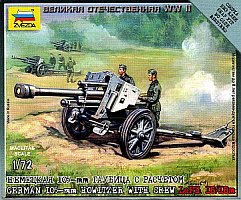
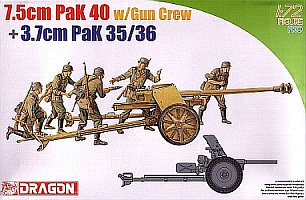
For some time now I've had a Dragon 7.5cm Pak40 (from kit 7374) lying around taking up shelf space. Keeping it company was a Zvezda 10.5cm leFH18/40 (kit 6121)
and an Ace 10.5cm leFH18 (kit 72216), both of which I had picked up for a pittance a few years ago with
the thought that, for some future projects they may provide spare parts. I had no plans to build either gun as the Ace gun was extremely rough and the
Zvezda gun was much too simplified for anything more than wargaming.
Then I remembered Stephen Brezinski's article about kitbashing an FK 7M85 & FK 7M59 here
on On The Way! and it got me
to thinking - I could make an FK 7M85 out of the three, using a similar approach. Stephen built his gun using pieces from the ancient Esci and Leva Productions
kits, some from the
more recent Roden kit, plus some scratch building. With three more modern kits at my disposal I figured why not try building this gun
as well, especially since it was not very likely any mainstream manufacturers would ever produce it. After removing some of the parts and tinkering with
them to test the feasibility of the conversion, I decided to take the plunge.
My plan was thus:
From the Dragon kit I would take most of the carriage, one of the aiming wheels and the gun cradle.
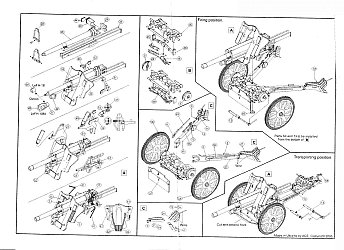
From the Ace kit I would use the mount (parts 22 & 25), two of the larger aiming wheels (part 47), shield braces (part 41), sights (Zieleinrichtung 34, part 17)
and elevation mechanism (part 53).
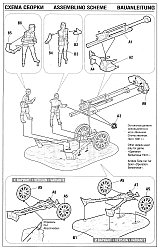
Last but not least, the Zvezda kit would provide the shield (part A6) and wheels (part A5).
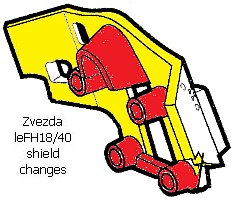
Construction started with the Zvezda kit. Its shield required some major modifications before it could be used. The first task was to remove all the unwanted
plastic from the rear of the shield. This required cutting off the four round pin locators for the gun mount, the brace that runs across the lower portion of the
barrel opening and the curved protective hood
(highlighted in red below). Next the shield had to be thinned extensively to give it a more realistic look
(highlighted in yellow below). And lastly, the ejector pin marks needed filling.
Once all the offending plastic was gone I started modifications to the front side of the shield.
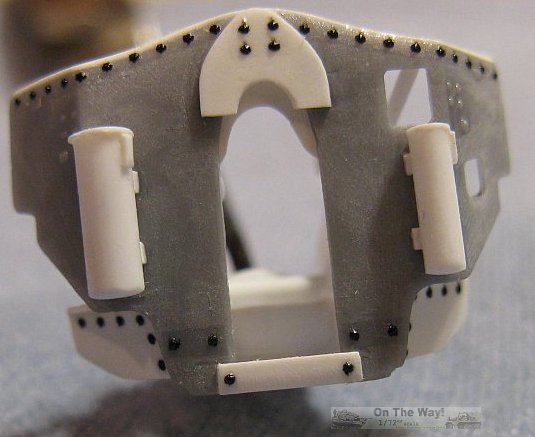
At right is a view of the modified Zvezda shield. All the white plastic is new scratch built items. This includes:
- Two round containers. These were made from plastic rod with caps punched from plastic sheet and small pieces of plastic
to represent latches. For each container four small pieces were used to represent the attaching brackets. I cut off Zvezda's representation of these
which were basically featureless blobs molded right onto the shield.
- Two lower extension wings. These were completely absent on the Zvezda shield.
- Small brace to bridge the opening at the bottom. This replaced the overly thick and incorrectly positioned kit part.
- Rounded bullet shaped reinforcing strip located at the top.
The lines of rivets are Archer decals.
|
|
|
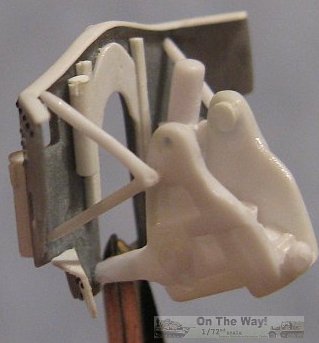
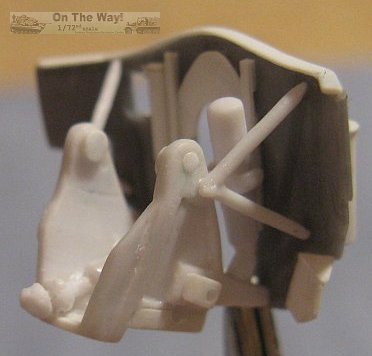
Views of the left and right backsides of the shield (left). Scratch built modifications include all of the white parts mounted to the shield.
These include:
- Thin plastic strip added to top of the shield for the lip which was also absent from the Zvezda part.
- Another small round container. This too was made from round rod with round caps punched from
plastic sheet and a small piece of plastic for the latch.
- There appears to be a sliding protector similar to that found on the 7.5cm Pak40 gun. This was added, along with some guides for
it, from plastic sheet.
The braces, gun mount, elevation mechanism (seen between the mount's uprights) and equilibrator are Ace parts.
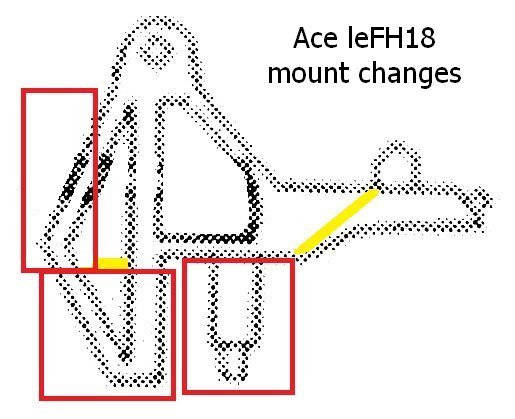
The Ace mount also needs a few other portions removed from both sides of the mount (highlighted by red boxes below). As well, there should be bracing panels that run
between the two sides of the mount - one across the front just aft of the lower braces and another across the bottom of the rear
(shown as yellow lines below).
If you look at the bottom of the Ace mount in the picture at left you can see the block of plastic I had to add so it would clear the front
of the carriage, and the small square of plastic added for the right side aiming wheel.
|
The Dragon slide and cradle was used, and the barrel and muzzle brake were replaced with an RB Model
metal barrel & muzzle brake (72B05). A new protective shield for the gunner was manufactured as none of those supplied in any of the kits matched.
The new shield is a best guess effort based on the few fuzzy pictures of the gun.

|
The Dragon carriage was pretty much built out of the box, and the easiest part of the conversion. Only a couple of
changes were made - the front of the carriage received some scratch built shovel holders along with an extra brace running between the two front arms of the suspension
frame.

|
Then a small box was added to the left trail leg. This was taken from the Ace kit with the hollow back covered over, some lines scribed for the lid, and a small
piece of plastic to represent the latch. The rear most grab handle on each of the trail legs was removed and repositioned to the spade.

The last items, shovels and a pick axe came from the spares box.
|
Conclusion
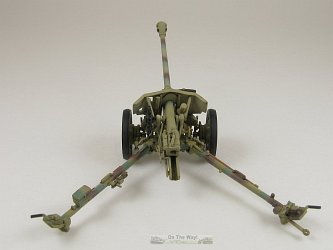
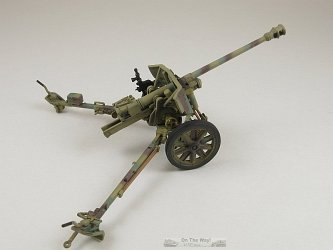
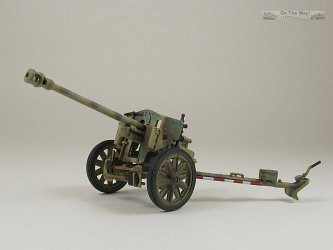
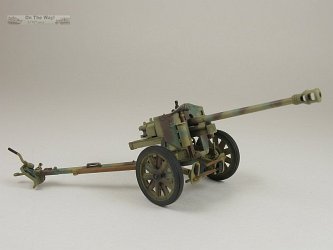
With limited references and less than a handful of pictures, making this gun requires a bit of artistic licence. This is my take on the
gun and I must say that it turned out looking a bit different than Stephen Brezinski's conversion - partly due to using the
extremely good and more modern tooled Dragon 7.5cm Pak 40 kit as the starting point, but more likely from the benefit of a couple more reference photos to work with.
So, which one is the absolutely correct? Probably neither. Until
more is learned (if it ever will be) about this gun I will just have to be content that I gave this conversion a good try and be satisfied that the
end result looks, at least to me, to be much like the few reference pictures available [4, 5 & 6 below].
References
For the FK 7M85:
[1] German Anti-Tank Guns 1939-1945, T.J.Gander, Almark Publications, New Malden, England 1973 ISBN: 0 85524 142 X
[2] wikipedia
[3] valka.cz
For the 10.5cm leFH 18/40:
[7] axishistory.com (forum thread)
[8] www.net-maquettes.com (walkaround)
[9] www.net-maquettes.com (another walkaround)
[10] www.armorama.com (1/35 AFV Club build)
[11] www.chmelar-diorama.cz (walkaround)
[12] www.armorama.com (1/35 AFV Club build)
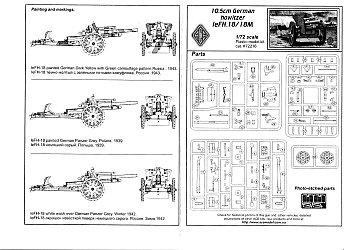
Below are the instruction sheets for the Zvezda & Ace kits for those wishing to refer back to part numbers mentioned in this article.
|


