|
Ace
|
www.onthewaymodels.com |
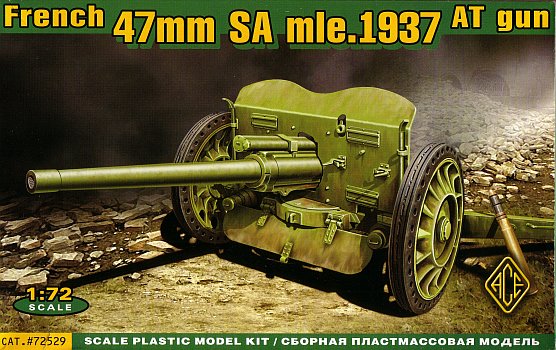
French 47mm SA mle.1937 AT Gun |
Kit #: 72529 |
Review by
- Al Magnus
|
|
|
Ace
|
www.onthewaymodels.com |
French 47mm SA mle.1937 AT Gun |
Kit #: 72529 |
Review by
- Al Magnus
|
|
 |
|
Brief History
The kit
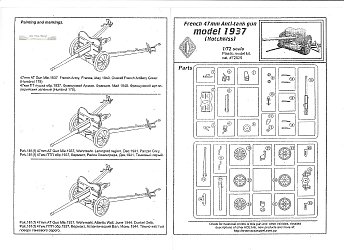
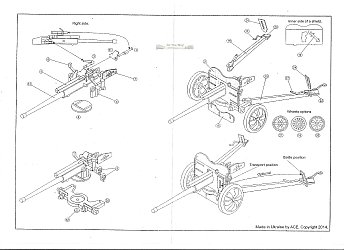
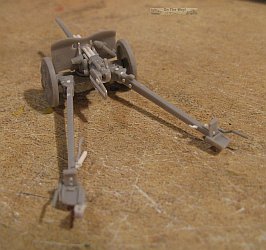
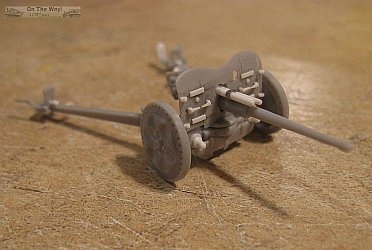
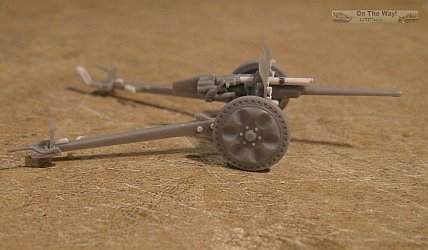
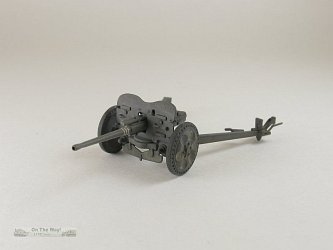
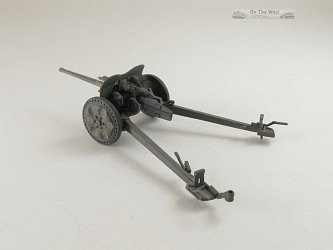
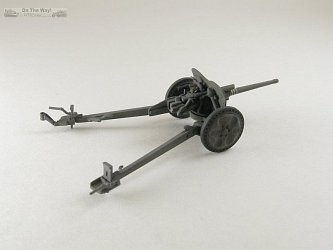
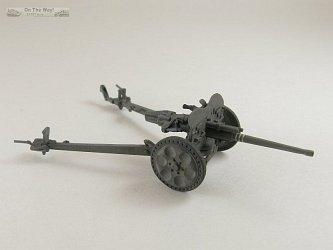
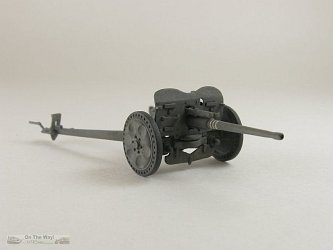
A simple instruction sheet lays out 3 construction steps in the familiar exploded diagram format. Three camouflage options are given - one in French Army green, one in German Army panzer grey, and one in German Army panzer yellow. No decals are included. Pretty much every part needs scraping and/or sanding to get rid of seams and flaws. Test fitting is a must as parts fit is marginal. A low area on the face of the shield forced me to remove all the detail and sand the face flat. This work did have a benefit in the end, for the shield is now nice and thin versus what came in the box. New detail was added with pieces of plastic strip and rod. The rear side is devoid of detail outside of the demolition device (part 10). I added some rivets from one of the Archer Fine Transfers' rivet/fastener sets (Rivet Fastener Heads Rivets/Screws 0.011" (0.28mm) diameter, item no. AR88015) to both the front and rear faces. The kit's recoil cylinders on the top of the barrel were not very round so these were replaced with sections of plastic rod. Bolt heads on the ends were punched from plastic sheet and a strip of lead foil replicated the connecting brace. Unfortunately the barrel too exhibited an oval like profile. If there had been an aftermarket metal replacement I would have replaced it, but since I couldn't find one, I tried my best to round it out with sanding and scraping. The muzzle was drilled out. Minor low spots on the trails were eliminated with some scraping and sanding. Using my dial calipers, I made sure that both legs were the same dimensionally with additional scraping and sanding as required. Lost detail was added with discs punched from plastic sheet. Gussets were added to the towing eye. There were no pieces in the kit for the trail lock, so I added these as well. The underside of the carriage had deep sink holes that required filling and sanding. The handles that mount on the spades were replaced with a set from a Dragon Pak 40. Another low spot in the gun layer's protective shield again forced me to eliminate it with sanding and scraping. Destroyed detail was added with thin plastic strip. As for the wheels, of the three options, I chose part 20. These appeared to be the roundest and I didn't have to fiddle around with removing flash from between the spokes, as found on the other two wheel options. The other 2 pairs of wheels were assigned to the spares box. The backside of all three wheel versions are completely flat and devoid of detail. Reference [7] shows what the backside of wheel part 21 should look like for those wishing to tackle adding the missing ribs. The poorly molded aiming wheels (part 9) are best tossed in the trash. They are undersized and lack spokes. I found replacements in my parts box. I chose to camouflage my gun in panzer grey to represent a beute 4.7cm Pak 183(f). I added three kill rings from my decal spares box. Conclusion
References
Review sample purchased by the author. 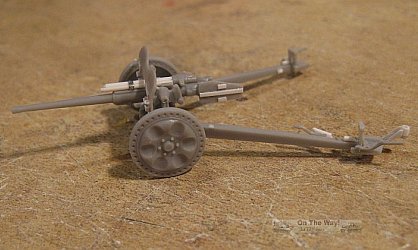
|
| Back to Ace Kit List | Back to Construction Reviews |
Article Last Updated: 01 December 2016 |
Back to Home Page |