 |
| GBModelli |
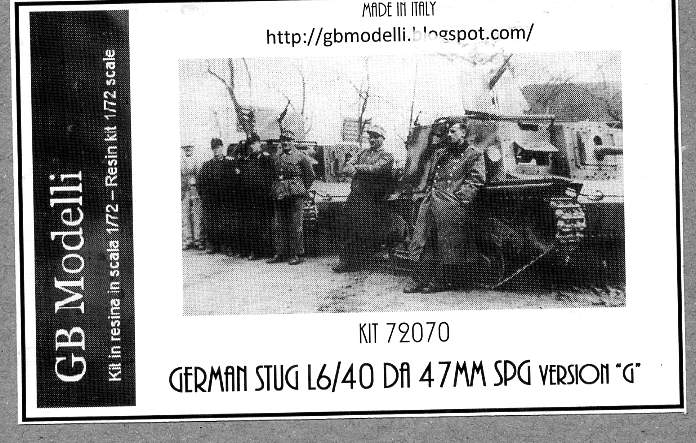
German Stug L6/40 da 47mm SPG Version "G" |
|||
| Kit # 72070 | Preview by F. Giovagnorio | |||
| I started by removing the bigger pieces from the molding carrots. The parts that required the most care were the sprockets: the teeth can be easily damaged, although it will be necessary to remove some of them to position the tracks later on (it must be said that the teeth are indeed too few and too big, but I think it would have been impossible to cast them much better). Parts were then cleaned up with scalpel and sanding paper. The resin is very pleasant to work with: not too brittle, nor too flexible. Clean up is limited, by the way, with very little flash and minimal molding pegs. Five pin holes were found and filled in. Assembly was started with the bogies. One half of each roadwheel is attached to the rear half of the bogie truck, the other half needs to glued to this part, after which you can install the face of the bogie truck. The wheel halves have no locating pegs, which makes it a bit more difficult to install them correctly, especially when working with fast drying superglue. Some wheels that are attached to the bogie are not perfectly aligned. The easiest way around this was to allow for a certain amount of "toe-out" between the wheel halves. I figured the problem would not really show as long as the outer wheel halves were well-aligned. Keep more than half an eye on the bogie parts, as there are arms with and arms without return rollers, and you might easily mix them up. The drive-sprockets have locating pegs. Be careful, though, as the pegs are installed in a way that only one of the outer halves will line up with a given inner half. It is quite obvious, when you pay attention. The two small arms connecting the anterior bogie train to the second return roller are extremely thin and must be positioned according to photos of the real vehicle: in my sample, one of them had detached from the sprue and was nowhere to be found, so I had to build it from scratch. The resin tracks come as pre-assembled sections, four per side. The tracks are not too bad if the level of detail is concerned. I found it easier to install the tracks by removing some teeth where the tracks meet the sprocket and the rear idler. Speaking about the idler, GB Modelli correctly reproduced in this kit the later-type version of this piece, which is different from the original, which was mounted on the earlier vehicles in service with the Italian Army. The whole superstructure of the vehicle is cast in a single part, which is good: it must be correctly aligned with the rear wall of the casemate, which must be done accurately to avoid any "steps" which were not present in the real vehicle. The German Army removed the lateral guides for the upper canvas and the canvas itself, while mounting an antero-lateral guide for a shielded Breda MG: all these modifications are correctly reproduced. The interiors are sparse but mostly correct, as far as we know: when placing inside some figures of the crew, there is not much which will remain visible anyway. Scratchbuilding the front and rear towing hooks, as specified in the instructions, is the last step of the build, after which the build is finished.
Finishing the model The vehicles entered service with the Wehrmacht in late 1943 and remained operative for less than 2 years. They were re-painted in the usual German sand, with green stripes of different sizes and directions, in some cases air sprayed and in others hand-painted. Most of them had two German crosses on the side, a few had numbers but nothing else. The vehicles looked rather clean (probably they never saw much action), with no extra stowage. Keeping this in mind, the kit was painted and weathered accordingly. The three figures of the crew have relaxed poses, as it can be seen in the rather few photos of the vehicles in service. Thanks to Giorgio Brigà (GB Modelli) for the review sample.
|
| Back to Briga (GB Modelli) Kit List | Back to Construction Reviews |
Article Last Updated: 24 February 2021 |
Back to Home Page |