|
This review covers the following IBG Chevrolet CMP truck releases:
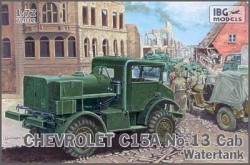
- kit number 72-012: Chevrolet C15A No.13 Cab Water Tanker
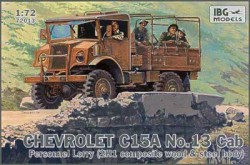
- kit number 72-013: Chevrolet C15A No.13 Personnel Lorry (2H1 composite wood & steel body)
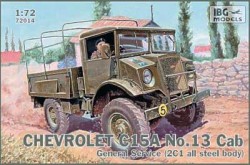
- kit number 72-014: Chevrolet C15A No.13 General Service (2C1 all steel body)
First off the box is too big. Takes up too much room on the shelf.
I feel that they are somewhat over engineered but that seems to be what people want, i.e. more detail. There are up
to four sprue points to clean up even on the small parts. However the softer plastic is easy to work with. I have learned to cut the
sprue apart and clean up most mounting points on small parts before cutting the part free.
I really don't think we needed to have the leaf spring mounts molded separate from the chassis, but they
are. Mount them first and make sure you have the correct ones in place. The holes in the front hubs need drilling out. I missed this step
and ended up with a wide track Chevy (By the way, wide track was introduced in the 1950's by Pontiac). It is not that noticeable so I didn't bother to
fix it.
Oh yes, the Chevy bowtie is too low in the grill. I'm not sure how to correct that without messing up the
grill. I did send a note to IBG regarding this.
Leave off the under bed boxes until after the bed is fitted to the chassis so as not to foul up on the
gas tanks. Also leave off the steering box until after the cab is fitted as the placement is vague and it will interfere with fixing the
cab in place. I left the cab roof off to paint the interior and install the windshield after painting the whole kit. The spare
tire carrier needs filing down.
I would leave off the front bumper until after the cab is fitted.
There are two parts that stand vertical either side of the spare tire. On the real thing they fold down
to enable the tire to roll out to the side. Use a round file to thin the concave part to a more realistic sheet metal thickness. As provided they
could stop an 88 round.
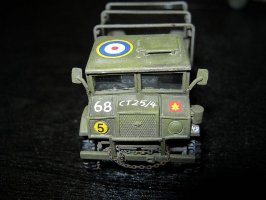
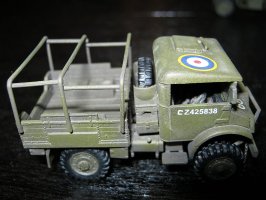
The decals are incomplete. Unit marking should be front and rear but only ones for the front are provided
(I pointed this out to IBG as well!). In the end I used Aleran's Commonwealth decals to complete the rear of the vehicles. They are 1/76 but work well for 1/72.
Even though they are fiddly these kits really don't need much detailing other than what is provided and can be
built in a couple of evenings.
I look forward to the 3 tonners in the fall. It's about time someone did these trucks as everybody used
them all over the world.
In progress shots:
| 
| 
| 
|
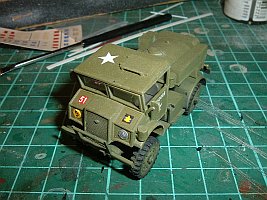
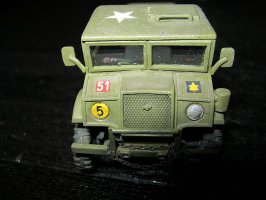
| Front shot of water truck.
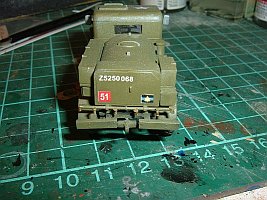
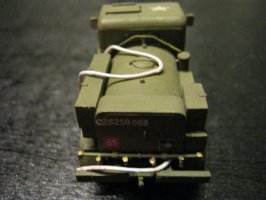
| Rear shot of the water truck.
Don't forget to add tap handles. They can be round or 'T' shaped from
what I have found. All pictures of originals show at least 1 rubber hose draped over it. Most Canadian vehicles war dept codes
started with 'C' then 'Z12345 etc.'
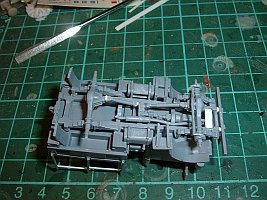
| Bottom of composite box truck.
I had to lengthen the drive shafts on this one. You may not have to as I
think it depends on the assembler. The front of the chassis seemed short so I lengthened it a couple millimetres to set the bumper away from the cab.
The white piece in front of the engine that also supports the radiator is a replacement for a part that was lost in clipping. You do not have to loose
this part. Oh, and to add insult to injury, I found the lost part as soon as assembly was done!
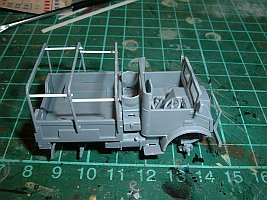
| Top of Steel body truck.
I replaced the horizontal braces with square strip. The kit parts looked too thick and
I've seen both round and square braces.
There are many CMP body types that use this chassis so these kits provide a good base for scratch builds or conversions. Note that the
3 tonners and bigger trucks used a much larger wheel like the Italeri Quad gun tractor that is Ford with the No.12 cab.
|
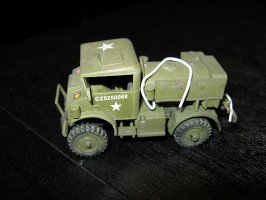
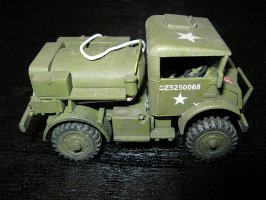
| Completed Water Tanker kit 72-012: |
| 
| 
| 
|
| Note: The hoses on the tanker are in their natural rubber white colour. |
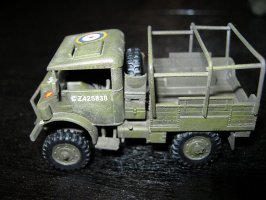
| Completed Personnel Lorry (2H1 composite wood & steel body) kit 72-013: |
| 
| 
|
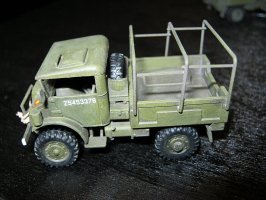
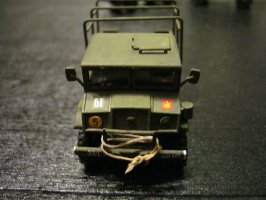
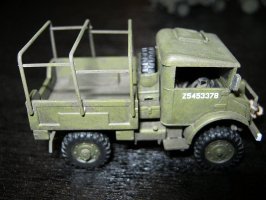
| Completed General Service (2C1 all steel body) kit 72-014: |
| 
| 
|
|
