Two
pages make up the instructions; the first one explains the history
of the vehicle, backed up by two pictures. One image shows a light
blue example used by the Uruguayan City Guard in 1933/34. The other
one (in black/white) depicts a P28 (licence plate 79706) seen from
¾ of the left rear.
The
other page contains a drawing showing an exploded view of the model.
This image however remains vague concerning the positioning of the
pieces, some of them really puny. This is a point that can be ameliorated.
Besides the units insignia, the decals also includes the two licences
plates.
Suspension
The
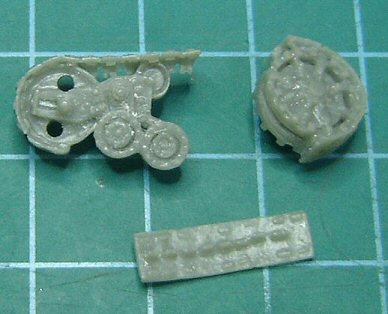
sprockets, road wheels and idlers are moulded in one piece, together
with the majority of the tracks, only the lower track needs to be
glued.
Numerous corrections were indispensable to give the different parts
a sharp look and to get fit them together, because detail often is
soft with several imperfections.
|
 _____________________________ _____________________________
|
If
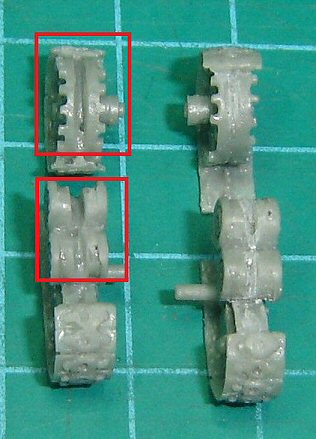
you look closely at the pictures and drawings, you’ll notice
that the free space between the tracks and the underside of the mudguards
should be bigger.
To get the correct distance, new holes for the sprocket and road wheels
were drilled nearer to the bottom plate (1mm lower) after filling
in the original ones.
|
|
|
The
axles were replaces with longer ones in order to facilitate the positioning
of the suspension.
Some
tracks elements were broken while handling them and carefully needed
to be glued back. Two track teeth being absent, these were fashioned
with some plastic card. |
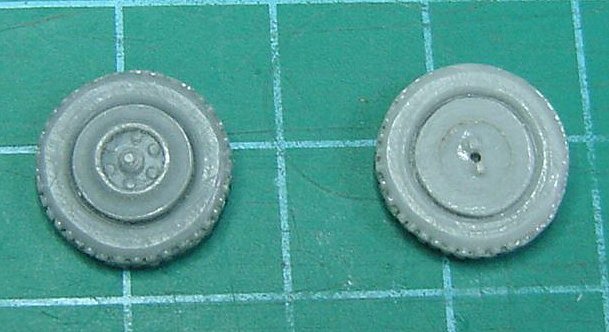
| The
wheels are nicely reproduced, their tread corresponding with the photos.
The hole in the middle were made deeper (from 2 to 3mm), while I replaced
their axles with new ones, a tad longer in order to get a stronger fixation.
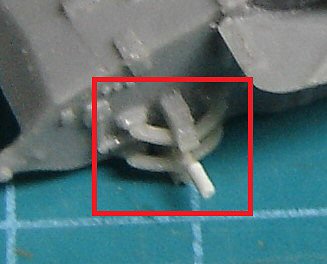
The brake cables, very obvious on the pictures, are scratch built using
some copper wire. |
|
 |
Hull
This
part comes moulded in one bloc with the rivets nicely done. The mudguards
were thinned from the underside, which also eliminates the numerous
imperfections present here.
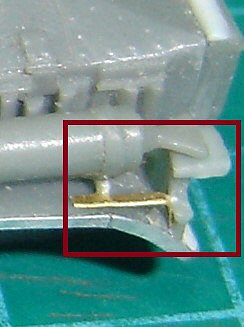
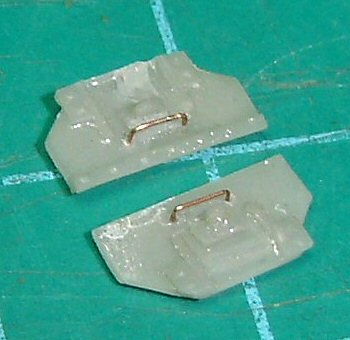
I replaced the handles on all hatches by better ones in copper wire.
|
|
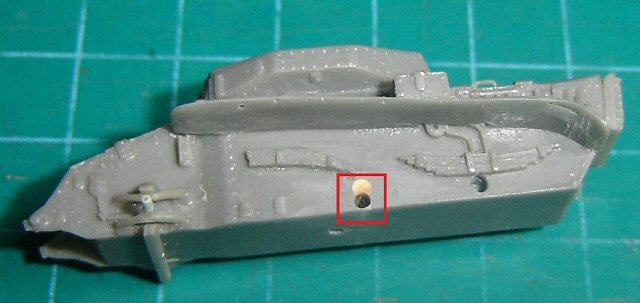
Visible
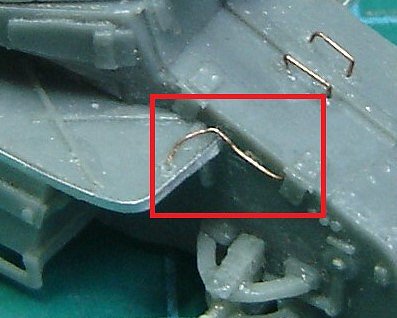
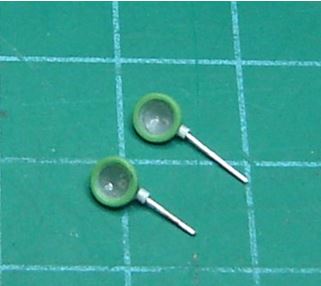
on this image, I fabricated the power cables for the headlights
in very thin copper wire.
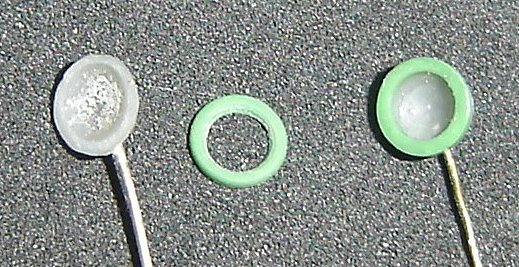
The
lights themselves were drilled out and put on copper supports. A
“crown” was made using a slice of a hollowed cylinder
having the correct diameter. The interior was painted silver before
receiving a drop of Pattex 100% glue without solvent, which is a
good simulation of the glass lens.
|
 |
 --------- --------- |
Turret
The
commander’s hatches are provided as separate parts, allowing
a figure to be installed, while the rest of the turret is moulded
in one bloc.
|
 |
The
figures
•
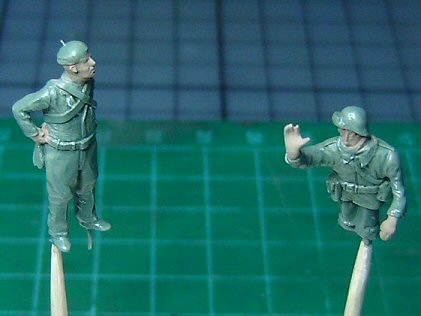
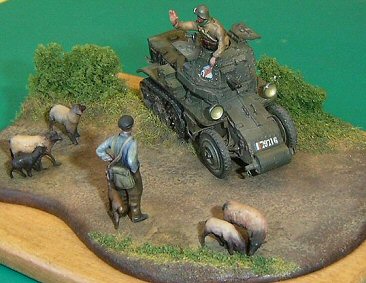
The vehicle commander was “stolen” from the Somua SAu
40 kit, also from Minitracks. He was reworked using Milliput, his
arms came from Preiser and Hasegawa and were adapted to fit the pose.
A lot of details were fabricated in Milliput and carefully added to
the figure: collar, sweater at the neck, shoulder straps, belt and
pistol case.
•
The shepherd is a modified Preiser guy, bag and belts again made in
Milliput. The bonnet he wears is also fabricated that way, except
for the little “excrescence" which is a bit of fine copper
wire.
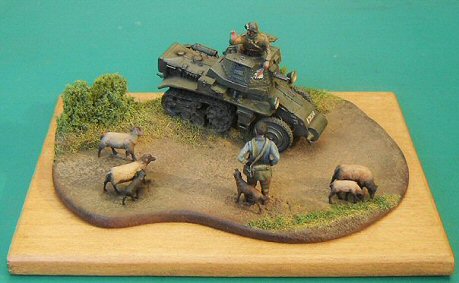
His dog also comes from Preiser, while the sheep are Faller 1/87 (#154001).
Notwithstanding the scale difference, they are perfect for this vignette.
|
 |
Painting
Was
done solely with paint brush using Humbrol, oils, pigments and graphite
powder
|
 _____
_____ _____
_____  |
References
-Trackstory
N°12, history, pictures and colour profiles
- Guerre, Blindés & Matériel Hors Serie 1 Dec 2013/Jan
2014 colour profile P.61-62
- Guerre, Blindés & Matériel N°95 Jan-Feb-Mar
2011 colour profile P.74
|
| Preview
sample purchased by the author.
This
model can be purchased from

|